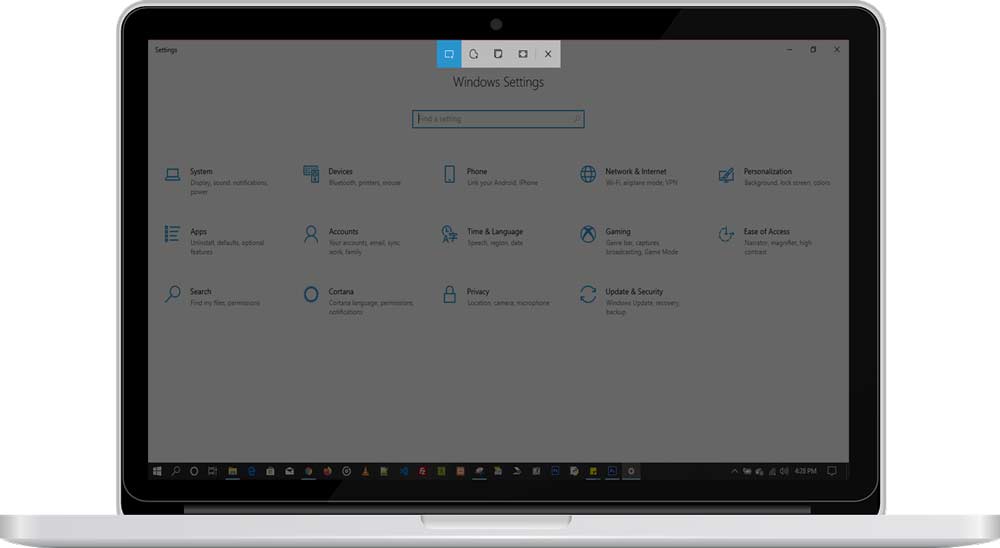
There are many reasons why you may want to take a screenshot of your laptop screen Just like we commonly do on smartphones. This can be for the purpose of taking the image of an active screen, sometimes for the purpose of illustration or writing a tutorial guide as I do.
There are a number of ways to take a screenshot on your laptop either a Windows PC or Macbook. Some people simply use their smartphone to snap the screen, but this always doesn’t give the best quality. Follow the following guide on how to screenshot on a laptop.
How to Screenshot on a Windows Laptop
There are up to three (3) methods of capturing your Windows PC screen, each with its own peculiarity and ease.
Using PrtSc Key
The PrtSc key on the keyboard captures the entire desktop, that is, everything that appears on the Laptop screen as of when the button is pressed. However, to capture only the active window, use Alt + PrtSc. All screenshots taken this way are saved in the clipboard, which means you need another application to view it. A quick one that comes to mind is the windows’ iconic paint app
- Press the Windows logo key or go click the start menu
- Type “Paint” and open the app
- Paste the captured screenshot
- Edit the image if needed and save it with a desired
A more Friendly and Quicker way is to use Win + PrtSc combination. This directly saves the Screenshot(s) in a “screenshots” folder in the Pictures library. All images are saved in png formats.
Using the Snipping Tool App
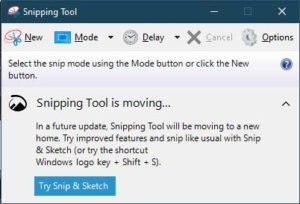
The snipping tool is a windows utility application that lets you take the image of your screen in snips, in any desired shape and save it in your desired format.

To use this application
- Click the start menu or press the Win key
- Type and search for snipping tool, open the app
- Click new on the snipping tool
- Drag the anchor over the desired area to capture
- Release the anchor when satisfied click save
- On the Save As dialogue, choose the file type, directory to save and save
Take a Screenshot with Windows 10 Snip and Sketch
Recent updates on windows 10 brought about Snip and Sketch which will later be an upgrade and replacement for the Snipping tool. It is more flexible and has more functionalities than the snipping tool.
If you are using Windows 10 October 2018 update, press Win + Shift + S. A new screen pops up that gives you an option to take a snip of the screen in any shape you want.
The snipped image is saved on your clipboard and appears in the notification area. Click the snipped image to edit with the Snip and Sketch application, save it when done.
How to take a Screenshot on a Mac
Mac laptops also let you capture the entire screen, a window, or just a selected portion of the screen. Simply use the keyboard shortcuts, Shift + Command + 3 or Shift + Command + 4, this works in all versions of macOS.
