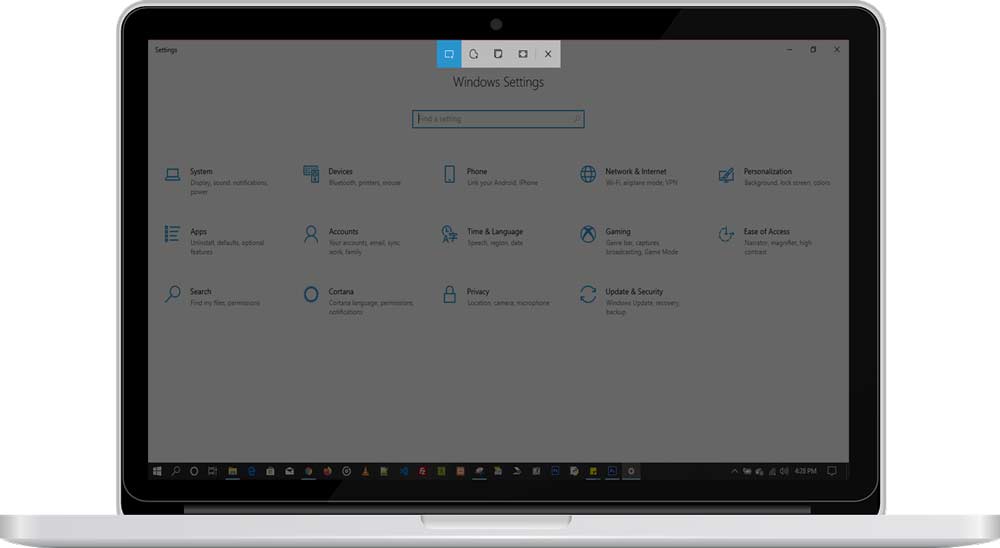
Anyone using Macbook and who would like to quickly and simply share information appearing on a Mac screen will need to learn how to screenshot on Mac. You may capture a screenshot of the whole screen, of a particular window or application, or even of a section of the screen, using a few straightforward instructions. This article will cover the fundamentals of taking screenshots on a Mac as well as some practical advice for making the most of the grab tool.
Taking a screenshot on Mac, like taking a screenshot on a PC is a simple process that can be done in a few different ways. Here are the most common methods for capturing an image of your Mac’s screen:
Screenshot on Mac – Method 1
The first method is to
- Press the Command + Shift + 3 keys simultaneously. This will capture a screenshot of the entire screen and save it to the desktop as a .png file.
- Click the thumbnail to modify the screenshot if it appears in the corner of your screen. Alternatively, wait until the snapshot is saved to your desktop.
Method 2 – Capture a selected area
If you only want to capture a specific area or portion of the screen,
- Press and hold Command + Shift + 4. This will turn your cursor into a crosshair, which you can use to select the area you want to capture.
- Once you’ve selected the area, release the keys to take the screenshot. To move the selection, press and hold the Space bar while dragging. To cancel taking the screenshot, press the Esc (Escape) key.
Method 3 – capture a specific Window
To capture a specific window,
- Press Command + Shift + 4, then press the Spacebar. This will turn your cursor into a camera icon, which you can use to select the window you want to capture.
- Once you’ve selected the window, release the keys to take the screenshot.
- To cancel taking the screenshot, press the Esc (Escape) key.
If you want to capture a screenshot and save it to the clipboard instead of the desktop, press Command + Control + Shift + 3 or Command + Control + Shift + 4. This allows you to paste the screenshot into another application, such as an image editing program or a document.
Screenshot on Mac with the Grab App
In addition to the above methods, you can also use the built-in Grab application on your Mac to capture screenshots. This can be found in the Applications > Utilities folder. Grab allows you to take screenshots of a specific window, a selected area, or the entire screen, and also provides basic editing tools.
It’s also possible to take a screenshot with the Touch Bar on MacBook Pro. Press Command + Shift + 6. You can also press the Touch Bar Screenshot button, which is located on the right side of the Touch Bar.
In conclusion, taking a screenshot on a Mac is a quick and easy process that can be done using keyboard shortcuts or the built-in Grab application. Whether you want to capture the entire screen, a specific area, or a specific window, there’s a method to suit your needs.
Where to find the Screenshot on Mac
Screenshots are saved to your desktop with the name or description like ”Screen Shot [date] at [time].png.” by default. You may modify the default location of stored screenshots in macOS Mojave or later by using the Options menu in the Screenshot app. The image may also be dragged to a folder or document.


