The majority of Smartphone users knows how to take a screenshot on their mobile devices, however the same cannot be said of Windows PC and Laptop users. I have seen a number of users taking a shot of their PC or Laptop’s screen with the camera of their mobile phone. So how do you take a screenshot on Windows PC and Laptop without using a camera?
Interestingly there are a number of methods depending on which is easier for you or serves you better, and more than you might think, it is very easy.
At this point maybe your mind quickly goes to the Print Screen (PrtSc) Key as a quick shortcut to take screenshots, well, you are right but there is more, there are other keyboard commands with cool accessibility features even making it easier than the Print Screen key. Let’s get started!
Print Screen (PrtScn) Key
Like I said this is a very handy tool to grab everything that appears on your screen as you see it. This key captures the entire screen the moment it is pressed. So if you open multiple windows on the screen, all of them are captured. As handy as this is, the captured image doesn’t get saved automatically, rather it is sent to your clipboard ready to be pasted. If you would like to save the captured image, a quick way around this is to open the Paint App (click the start menu or search then type ‘Paint’), once open simply do ctrl+V to paste. You can then go ahead to save the Image as you so desire.
Alt + Print Screen
Imagine you opened multiple windows and you will like to take a screenshot of just one of them, that is exactly what Alt + Print Screen does. Simply make sure the window to be captured is the active one or highlighted. Like the Print Screen, this option also sends the image to the Clipboard.
Win + Shift + S
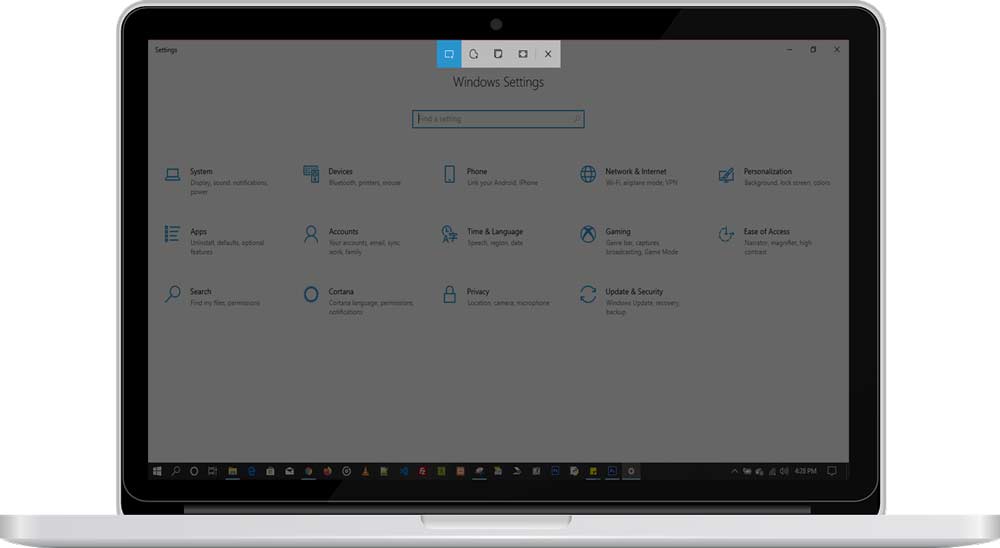
This is the option I use the most, for a reason. Sometimes you don’t want the whole screen captured, but a section of it, the command Win + Shift + S is perfect for this. This command prompts the built-in screen capture tool, Snip & Sketch. Once active it dims the screen and gives you for options to snip your screen:
- Rectangular Snip: This allows you to snip or cut the area of the screen you want in a rectangular shape
- Freeform Snip: You will be able to snip freely any shape you want, useful if you want to trace out an area of the screen
- Windows Snip: works like Alt + Print Screen
- Full-screen Snip: work like Print Screen
This method also doesn’t save the screenshot automatically, however after a successful snip you can click the image in the notification area of your PC or Laptop, this brings up the Snip and Sketch App that allows you to edit and save as you desire.
Win + Print Screen
Now, this is what makes Screenshots with a Print screen awesome. This option will capture the entire screen, just as the Print Screen key, but this time the image is saved automatically in a dedicated folder at C:UsersPictures>Screenshots.
Win + Alt + Print Screen
It Gets better with this option. While the Win + Print Screen option automatically saves the screenshot, it doesn’t give it a good title (Just screenshot (1), screenshot (2)…), this option Win + Alt + Print Screen option captures the active window and automatically saves it with the name of the window that was captured. The destination folder is different though, this option saves screenshots at C:Users>(user name)>Videos>Captures.
Win + G
This is the command to open the Xbox Game Bar. You just have to click ‘capture’ and then the camera icon to save the image to C:Users>(user name)>Videos>Captures. It work like Win + Alt + Print Screen
Bonus Alternative: The Snipping Tool
The Snipping Tool is one of the longest tools on windows for taking screenshots, while the options discussed above may come handier and more versatile, it is important you know about this too especially if you found yourself on an old Windows OS. It does, allow you to define the portions of the screen you want to screenshot. You can find this tool by going to the Start menu then type snipping tool. More explanation on how to use it is available here


